
Docs / Get started
Getting started
Connect your Zendesk account, start the free trial, and get your first help center drafts from solved tickets.
Setup takes a few minutes. You sign in with Zendesk, and AutoKnowledgeBase sets up everything it needs in your account. From then on, every solved ticket is checked against your help center.
What you need
- A Zendesk account with a help center. AutoKnowledgeBase reads solved tickets from Zendesk Support and writes drafts to your Zendesk help center (Guide, now called Knowledge). A help center comes with Suite Team and above, or as a Knowledge add-on to a Support plan.
- A Zendesk admin to connect it. Connecting creates a webhook and a trigger in your account, which needs admin rights.
- English help center articles. AutoKnowledgeBase works with your English (en-us) articles.
Step 1: Sign in with Zendesk
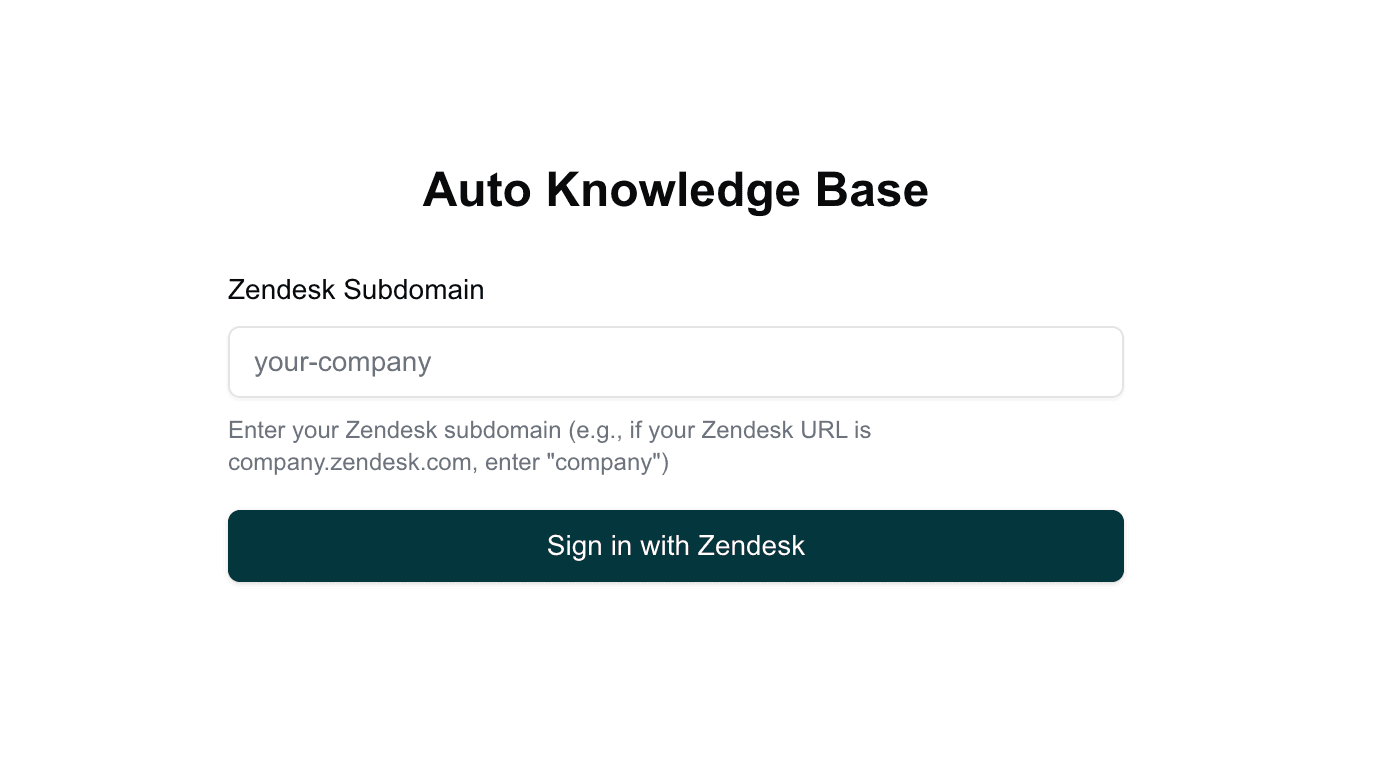
- Go to app.autoknowledgebase.com.
- Enter your Zendesk subdomain (the
yourcompanypart ofyourcompany.zendesk.com). - Click Sign in with Zendesk.
Step 2: Authorize the connection
Zendesk asks you to sign in, if you aren't already, and then to allow AutoKnowledgeBase to access your account. Approve the request.
AutoKnowledgeBase uses Zendesk's own sign-in (OAuth) with read and write access. You never share a password or an API key with us.
What happens when you connect
As soon as you authorize, AutoKnowledgeBase:
- Starts your free trial. 30 days on the Starter plan, with 1,500 solved ticket analyses. No credit card is needed. See Credits and billing.
- Creates a webhook and a trigger in Zendesk. The trigger fires when a ticket is solved and sends the ticket ID to AutoKnowledgeBase. It skips tickets that already carry the
akb_analyzedtag, so a ticket is never analyzed twice. - Takes you to your dashboard. Analysis starts with the next ticket you solve. Tickets that were already solved before you connected aren't analyzed.
You don't need to import your help center. AutoKnowledgeBase syncs your articles and sections before it analyzes each ticket, so it always compares against the latest version.
If your help center has no sections yet, the first time AutoKnowledgeBase creates an article it adds a Knowledge Base category with four starter sections: Troubleshooting, Getting Started, How-to Guides, and FAQs. You can rename or reorganize them in Zendesk at any time.
Step 3: Solve a ticket and review the draft
Solve tickets as you normally do. For each one, AutoKnowledgeBase decides whether to create an article, update one, or do nothing. How ticket analysis works explains how it decides.
Nothing is ever published for you. You'll find the results in Zendesk:
- New articles are created as drafts in the section that fits the ticket best.
- Updates to a published article go into a separate draft titled [Proposed update] article title and labelled
akb-review. Your live article isn't changed. To apply the update, copy what you want into the live article and publish it, then delete the proposed-update draft. - Updates to an article that's still a draft are written straight into that draft.
To find them, open the article list in Zendesk's knowledge admin and look at your drafts.
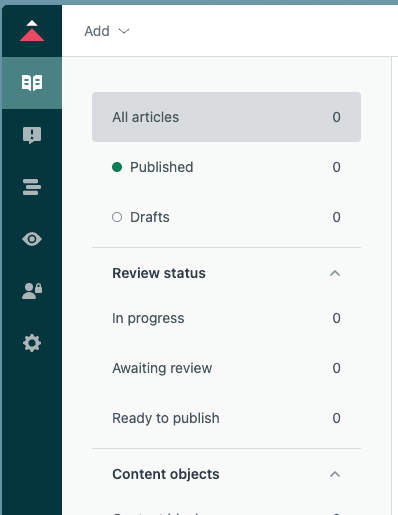
If ticket feedback is turned on (it is by default), each analyzed ticket also gets a tag and a private internal note with a link to the draft. See Ticket tags and internal notes.
Inviting your team
Other agents in your Zendesk account can sign in the same way. They join your existing workspace and see the same dashboard. The person who connected first owns the workspace, and billing is attached to them.
Need help?
Use Get Help in the app's sidebar, or email support@autoknowledgebase.com.
Last updated November 21, 2026