Back to Blog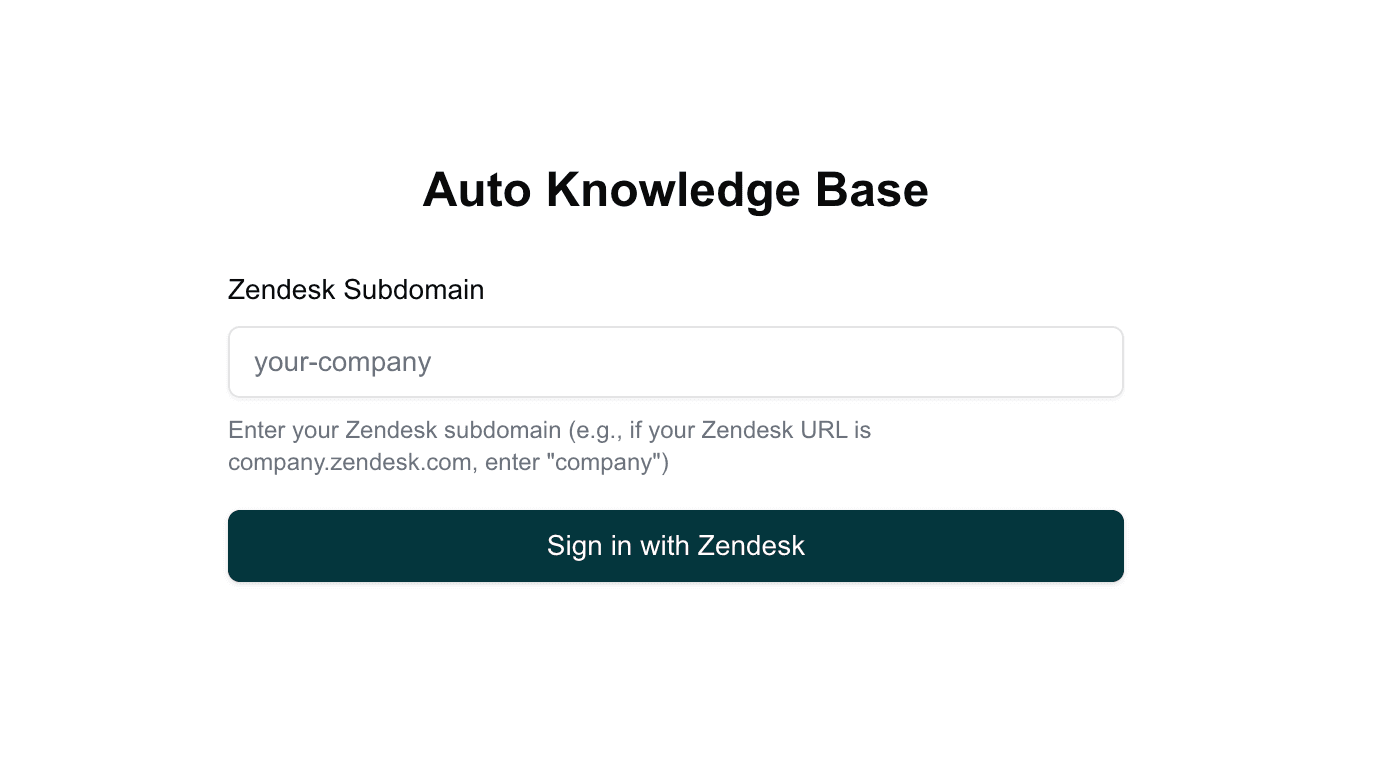
Tutorial
Getting Started with Auto Knowledge Base
A complete guide to setting up your first automated knowledge base workflow in under 10 minutes.
January 31, 2026
5 min read
Getting Started with Auto Knowledge Base
Welcome to autoknowledgebase!
This guide will walk you through setting up your first automated knowledge base workflow in just a few simple steps.
What You'll Need
Before you begin, make sure you have:
- An active Zendesk account with admin access
- About 10 minutes of your time
Step 1: Create an Auto Knowledge Base account
- Go to https://app.autoknowledgebase.com
- You will be taken to the log in screen
- Enter your Zendesk subdomain and click Sign in with Zendesk button
Step 2: Connect Your Zendesk Account
The next step is to connect your Zendesk account to Auto Knowledge Base. This process is secure and requires just a few clicks.
- You will be taken to Connect Zendesk screen.
- Enter your Zendesk email and password if asked and click Sign In.
- If you are not asked to enter your email and password, you are already signed in.
- You will be asked to authorize the connection. Click Authorize.
Step 3: Start creating/updating articles
- Whenever a new ticket is solved, Auto Knowledge Base will automatically create/update the article in the knowledge base.
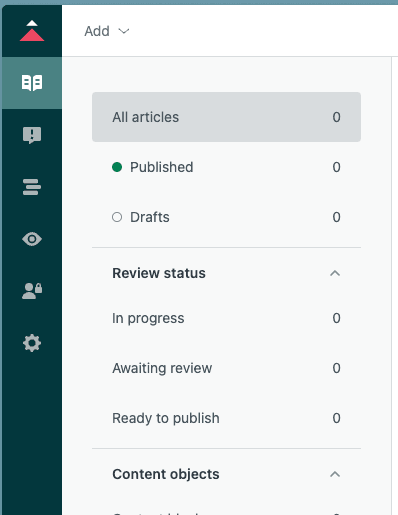
- All creations and updates will be saved as draft and will be reviewed by you before publishing.
- To review the articles, go to Drafts tab in the sidebar in your Zendesk account Help Center.
Next Steps
For any questions, please contact us at support@autoknowledgebase.com.
Happy automating! 🚀